How to install a rainwater guttering system
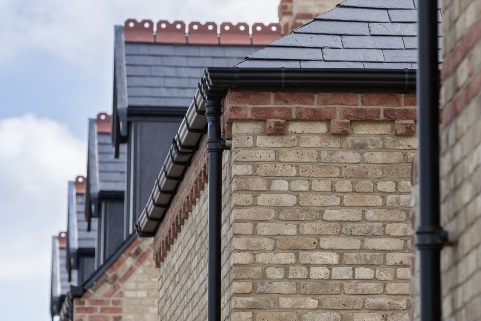
A rainwater gutter system is the first line of defence for any building during a heavy downpour. By directing rainwater away from the roof via the gutter and downpipe into the drain system, the fabric of the building can be protected from potential water ingress and all the problems that this can bring.
Correct installation and maintenance of the rainwater system will ensure that the gutter and downpipe systems will perform for a lifetime. There are a number of key considerations for the installer to ensure the rainwater system helps protect the building and works each and every time during a downpour?
In this step by step guide, we’ll walk you through everything you need to do to ensure your guttering system is installed correctly.
Step 1 - Planning and preparation
Plan your installation carefully. Ensure you have the right tools for the job, particularly when working at height, and relevant personal protection.
Step 2 - Fitting running outlets
Fix running outlets above the drains or gullies where the water will drain into using 25mm x 5mm corrosion-resistant screws.
Step 3 - Calculating fall
To allow for good steady rainwater run-off, guttering should be installed with a downward fall towards the rainwater outlet – 1mm for every 600mm. The running outlet should be at the lowest point on the gutter run.
Step 4 - Fitting fascia brackets
Fix the first fascia bracket furthest from the outlet at a position on the fascia to allow for the required fall. No more than 150mm from the end of the fascia board. Stretch a line taut between the fixed running outlet and fascia bracket to establish a straight gutter line. Fascia brackets should be fitted to the fascia board at equal intervals. A union bracket should be used where two gutter lengths are joined. Gutter supports should be spaced at no more than 900mm apart or less than 600mm in areas of heavy snow. On internal and external angles, fix fascia brackets no more than 100mm from the edge of the gutter angle.
Step 5 - Cutting gutter to size
Cut to length using a saw and a file to remove any burrs from sawn ends. When cutting the guttering to size make allowances in length to fit the expansion lines which are marked in the fittings.
Step 6 Fitting the gutter
Lubricate the seals using silicone spray lubricant. Each length of gutter should be placed into position with the back edge under each fitting. Rotate down and then click the front edge into place over the top edge of the gutter.
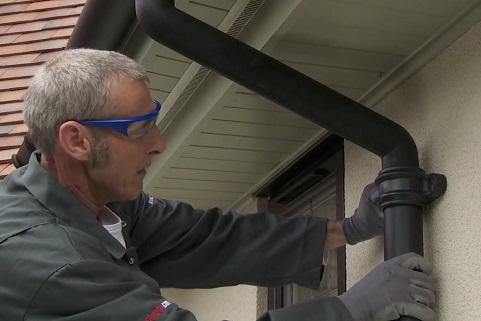
Step 7 Fitting downpipe
If required, fit an offset between the running outlet and the downpipe. Fit the downpipe to the offset. To allow for expansion, ensure each connection is retracted at least 5mm from the receiving socket before fixing to the wall. Use a spirit level to check vertical alignment. Mark the wall using the holes in the lugs of the socketed downpipes or downpipe clips as guides. Then drill, plug and fix the downpipe using fixings. Hoppers can be used to allow more than one pipe to run into one downpipe. An offset may be required to follow the contour of the lower wall and finally, a drainpipe shoe should be fitted to direct the water into the gully. And lastly, water test the system to ensure no adjustments to the fall are necessary and all connections to the fall are fitted correctly.
Related
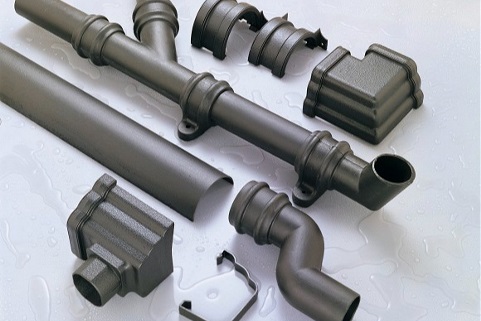
Brett Martin provides the most comprehensive rainwater systems range with style, choice and flexibility in mind. Both standard and cast iron effect options are suitable for both new build and repair & maintenance markets


.tmb-listing.jpg?Culture=en&sfvrsn=a65ec15f_1)